Today is the day I get to tell you about the new fabric line that Patty Young of ModKid has designed for Riley Blake Designs!
I picked some yummy flannels from Acorn Valley to make a scarf. It's blazing hot here in New York right now and most folks aren't thinking about winter scarves, but summer means something else to me. My immune system doesn't work very well and that means summer is a bit of a respite from the non-stop colds and flu that swirl around during the winter months. I don't want to hide at home, though, so I make and wear very long scarves whenever I venture out into public places. They look great and keep me warm, but that isn't the whole point. Every time I need to open a door, grab a railing, or push an elevator button, I use the bottom of my scarf instead of touching germy places with my hands. This might sound silly, but it totally helps! I throw the scarves in the washer and tumble dryer and make sure I have a clean one on every time I brave going in public.
Here's how I make one flannel scarf:
Materials:
1/2 yard fabric A
1/2 yard fabric B
1/3 yard fabric C
Pre-wash and dry fabrics
From fabrics A and B, cut 3 strips 2 1/2" x 40"(width of fabric)
Stitch together 2 sets of 6 strips, alternating colors:
Press seams toward one color. I pressed toward the red (The Dark Side).
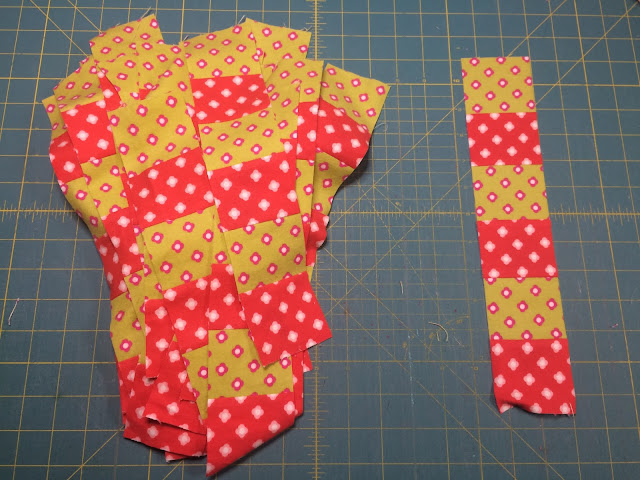
Trim each strip into 16 units 2 1/2"x12 1/2":
There should be 32 strip sets. If you ended up with fewer sets, your very long scarf will only be slightly shorter. It's not a problem!
Stitch strips together alternately into a piece that measures 12 1/2" x 64 1/2":
Press seams open.
From fabric C, cut a 10 1/2"x40" (width of fabric) strip. Sub-cut into two rectangles 10 1/2"x12 1/2".
Stitch a rectangle to each short end of your checkerboard scarf.
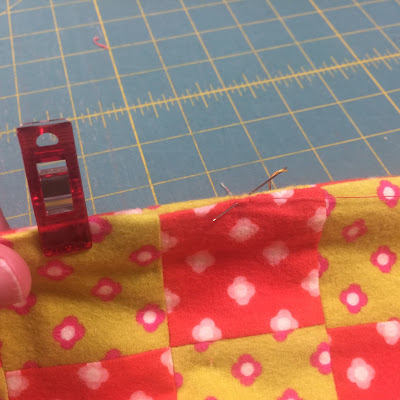
Fold this long scarf in half, right sides together, and stitch along the short ends and the very long edge, leaving about 10" open on the side for turning.
Turn scarf right side out and hand-stitch the opening closed.
Press your scarf well.
Now put it away and enjoy the rest of the summer!
Do you want a chance to win some of these very yummy flannels?
If you totally need to buy them now (and you do!) Patty has a discount code for her Etsy Store:
Coupon code AcornValley2016 gets 25% off your entire purchase in the Modkid Etsy Store (https://www.etsy.com/shop/modkid ).
Valid July 11th through July 22nd at midnight EST.
Sue O'Very is the other stop on the blog tour today. She has a Craftsy class on machine embroidery that I'm just DYING to take!!!
Check out all of the other fun stops on this blog tour:
Monday 7/11: Riley Blake & Modkid
Tuesday 7/12: Sweeter Than Cupcakes & That's Sew Kari
Wednesday 7/13: Beri Bee Design & Falafel and the Bee
Thursday 7/14: Sew and Tell Project & Handmade Martini
Friday 7/15: Coral & Co. & Pear Berry Lane
Monday 7/18: Sweet KM & 2 Little Hooligans
Tuesday 7/19: Highered Hands & Sue O'Very Designs
Wednesday 7/20: Smashed Peas and Carrots & Gingham Girls
Thursday 7/21: Flamingo Toes & Quilting Gallery
Friday 7/22: Ameroonie Designs


3 comments:
Great tutorial! Thank you for sharing!
Loved the scarf - thanks for sharing the tutorial :)
I love that you did a tutorial! Your fabric choices are so fun too!
Post a Comment